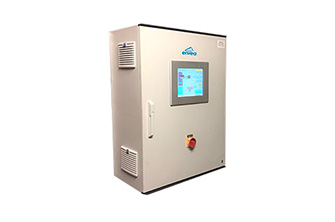
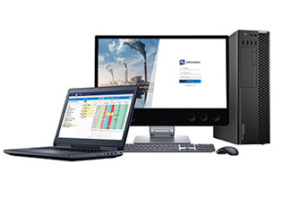
Hands-on with your analyzer
Please follow the next steps in order to install your analyzer correctly and download all the documents required for its operation.
These documents are:
- Quick-Start Guide (QSG),
- Technical Manual
- Metrological Qualification Test Report
- Quality Test Certificate
On initial powering-on, follow this procedure to have an access to these documents. Then, read carefully the Quick Start Guide (QSG) before commissioning the analyzer.
Follow the procedure indicated below:
2 – Power ON the unit by pressing the ON / OFF button located on the front panel (for e-series analyzers & MIR 9000P), or on the rear panel (for MP101M). The analyzer screen turns on:


 to display the information panel


